
DT1 Setup

Step 1.
Attach HUD brackets to the HUD base using a phillips head screwdriver (washers and bolts provided). Position the high side of the brackets toward the front (logo side) and slots facing inward.

Step 2.
Remove the protective blue film from the HUD lens and beamsplitter glass.

Step 3.
Insert the beamsplitter glass into the HUD brackets slot.

Step 4.
Place the rear of the DT1 12" from your main monitor. This puts the collimated HUD image at the surface of your monitor.

Step 5.
Connect DC power (provided 12V cable) and connect your video cable to the unit's HDMI input connection.
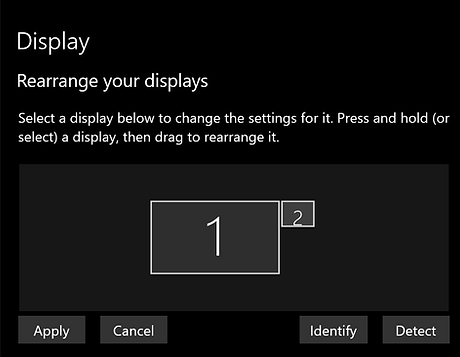
Step 6.
Right-click on your desktop and select 'Display Settings'. Your OS will recognize your new HUD monitor with a 1024 x 768 resolution. Arrange your monitor configuration as desired and click 'Apply'.

Step 7.
From the top menu, click on 'Simulations' then select your simulator of choice from the drop-down menu to view configuration guidance & tips for that sim.
Contact Support
Responses are typically received within 24 hours. Thank you for your patience!